Setup your Development Environment
For further development of stepDP it is recommended to include the source code directly in the IDE, so you don't always have to go the long way around the Maven repository. To do so, follow this guide, which is based on Intellij IDEA. However, it should work fine with any other IDE with Maven support.
Currently, Option 1 is the preferred way to integrate new features into stepDP. If you want to test your new stepDP feature with a very large, existing project, maybe Option 3 is a better fit for you.
If you want to implement new features, it is recommended to implement the features in a separate branch and send them to the code base via a push request.
Prerequisites
Note
The Repository is only accessible if your part of the stepDP team at GitHub. If you are not, contact Julian Wolter or Michael Feld.
Make sure that the following applications are installed:
- JAVA (at least version 11)
- Maven (at least version 3.6)
- JAVA IDE with Maven support (e.g. IntelliJ IDEA, which is used in this manual)
You can check the versions by executing the following commands in your terminal
java --version
mvn --version
Option 1: Import stepDP as a Maven Project
First, checkout the stepDP Core from GitHub.
git clone git@github.com:DFKI-AID/stepDP.git
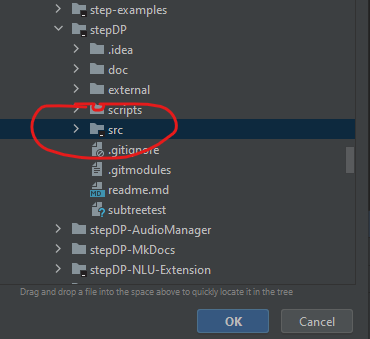
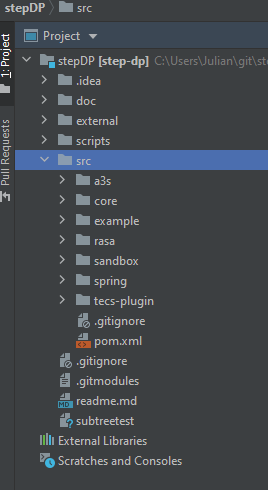
Import the /src folder as an Maven Project in IntelliJ IDEA.
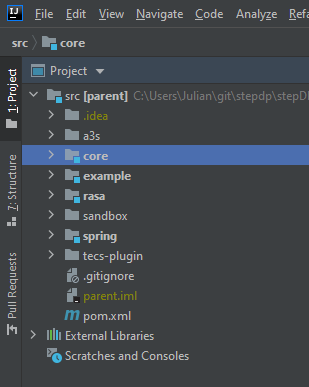
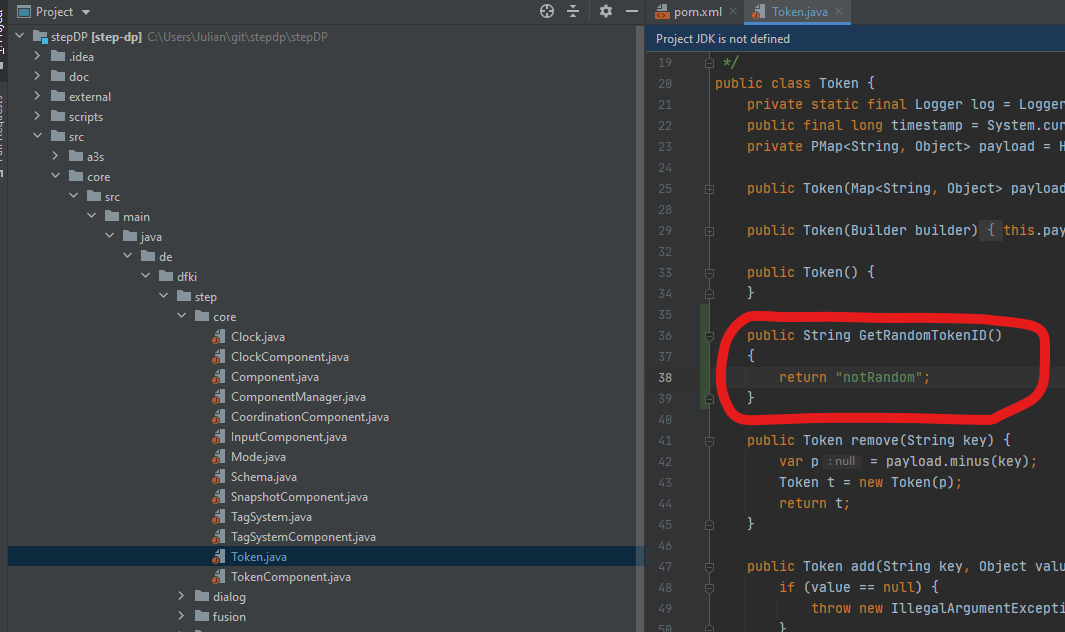
After loading, you will find all the different components ready to run in IntelliJ IDEA.
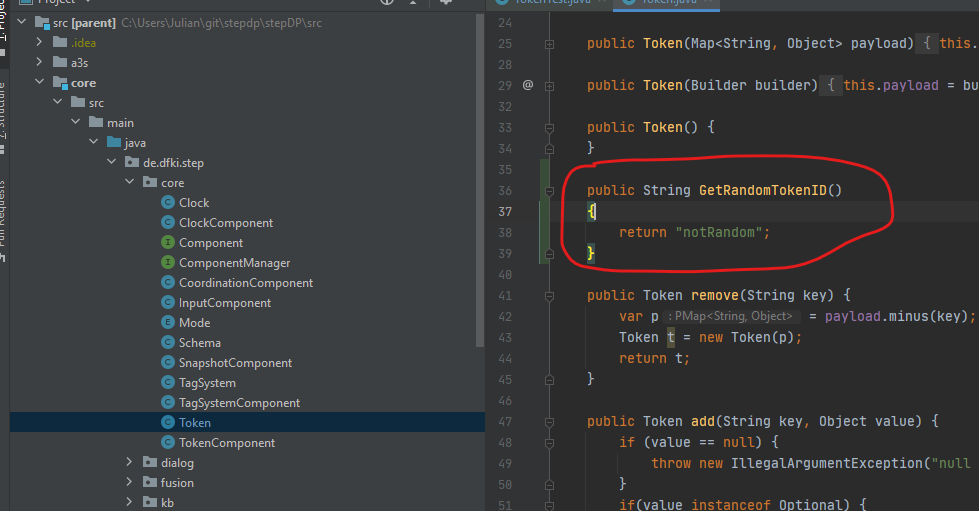
If you want for example to extend the Token class, just open the class and add the new function:
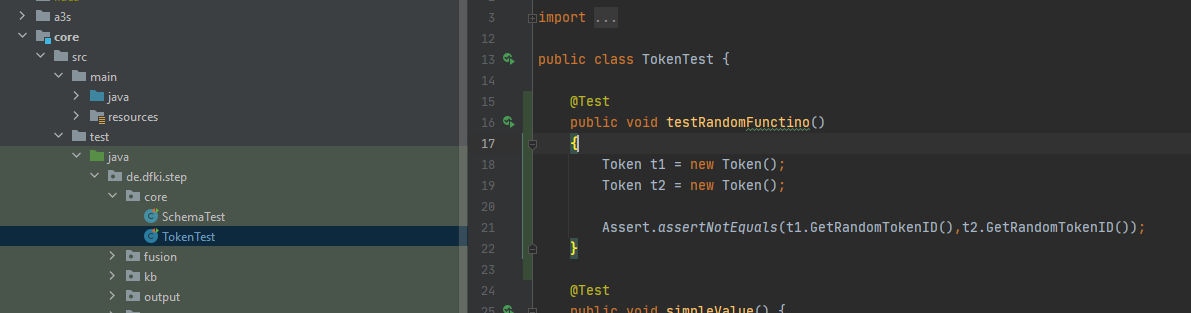
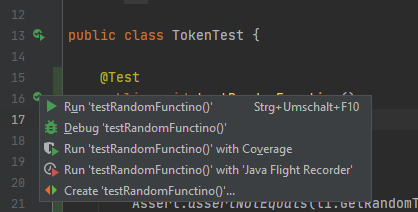
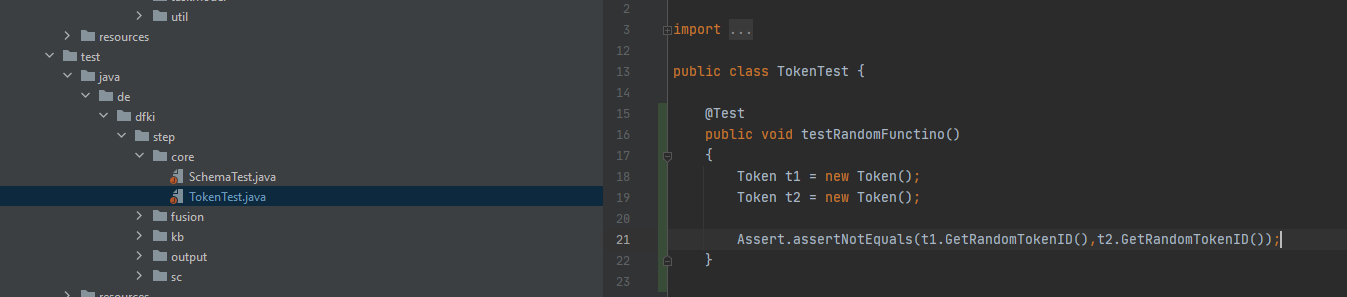
In order to test and debug your function, write a test for it:
You can then run and debug directly from the IDE your test function or the whole test class.
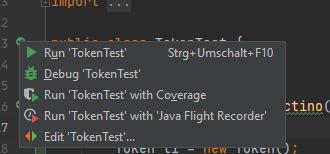
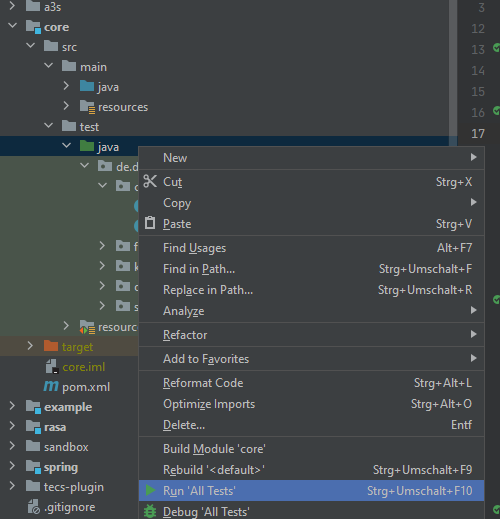
In addition, you can also run the whole testsuite of the stepDP component from the IDE
Option 2: Import the whole stepDP Folder
First, checkout the stepDP Core from GitHub.
git clone git@github.com:DFKI-AID/stepDP.git
Now open the this Maven Project in IntelliJ IDEA. You find under /src the different components of stepDP.
Open the project you want to modify and edit the code. In order to test the code, you have to write some JAVA tests. This also allows you to debug your code.
For example, you want to add a function to the Token class. So we open the Token.java file and add the required function.
In the next step, we will write a test for our new function.
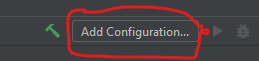
To run the test suite, we first need to create suitable Run Configuration. Therefore we open the Add Configuration dialogue in IntelliJ.
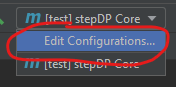
We add a new one and select Maven.

Afterwards, we select the path of the component we are currently working on...
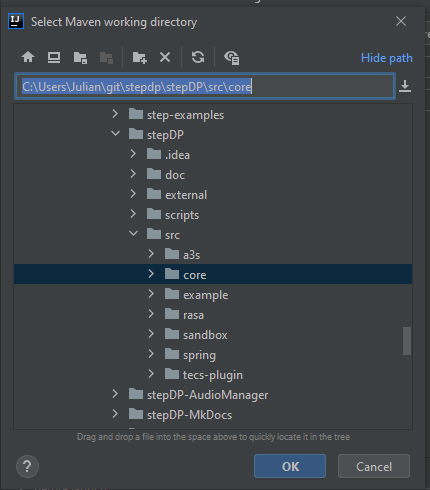
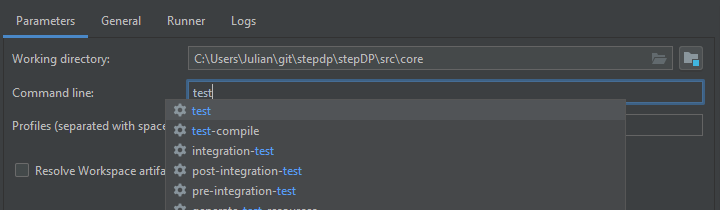
...and choose "test" as command line parameter.
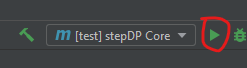
We can then choose a nice name and save the configuration. After that, we can choose the configuration and run the test from the IDE.
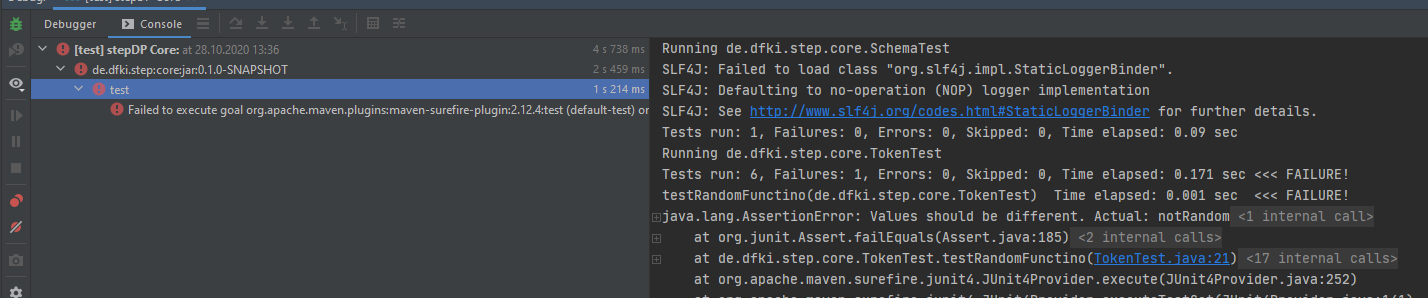
You can see the results of the run in the Console window (e.g. in our case, the test failed for obvious reasons).
Option 3: Create a local stepDP Maven Repository
Setup stepDP Repo
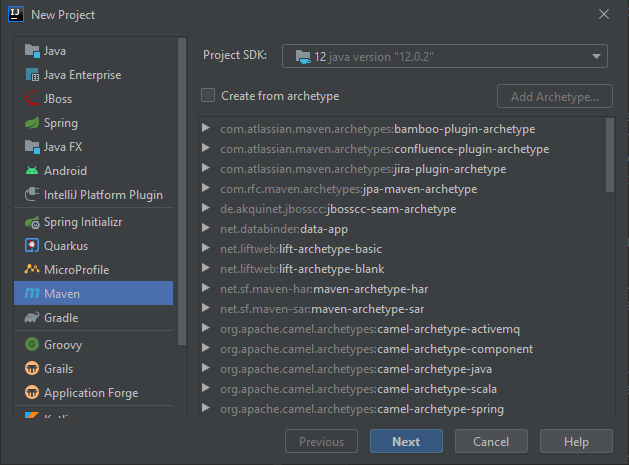
Create an empty Maven Project in your IDE...
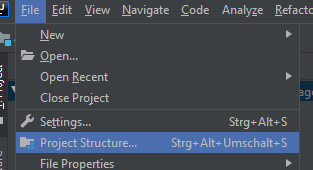
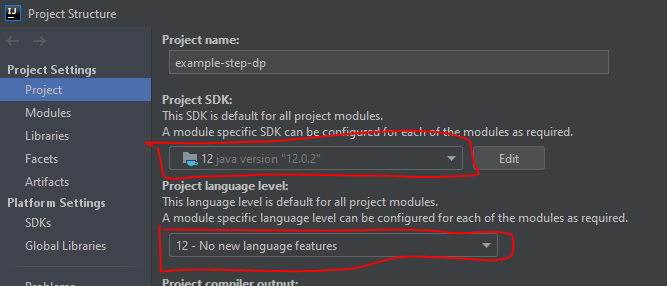
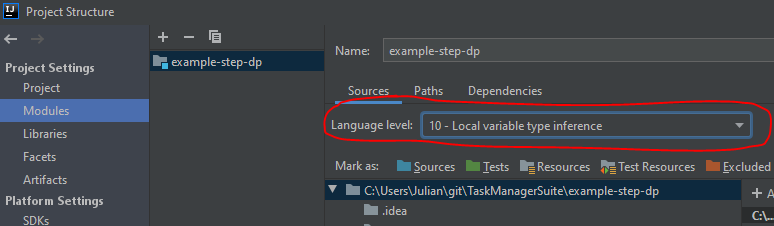
... and make sure that your JAVA Language Level is at least 10.
Add the following snippet to your pom.xml
<build>
    <plugins>
        <plugin>
            <groupId>org.apache.maven.plugins</groupId>
            <artifactId>maven-compiler-plugin</artifactId>
            <configuration>
                <source>10</source>
                <target>10</target>
            </configuration>
        </plugin>
    </plugins>
</build>
Afterwards, add the stepDP dependencies to your project (make sure the version match wit the version of your development snapshot).
<dependencies>
    <dependency>
        <groupId>de.dfki.step</groupId>
        <artifactId>spring</artifactId>
        <version>0.9.0-SNAPSHOT</version>
    </dependency>
</dependencies>
Then we can make the project a git project and add the source code from stepDP to it. To do this we open a console in the project folder and execute the following commands (adapt your branch if necessary. In this case, we are using the dev branch. Remind to add a suitable gitignore file):
git init
git add *
git commit -m "initial commit"
git remote add -f stepDP git@github.com:DFKI-AID/stepDP.git
git fetch stepDP dev
git subtree add --prefix external/stepDP stepDP dev --squash
git subtree pull -P external/stepDP stepDP dev --squash
With this command we have added the stepDP repository to the current project.
Building local Maven Repository
Now we have to build stepDP locally.
mvn clean install -f external/stepDP/src/pom.xml -am -pl spring
mvn clean package -f pom.xml
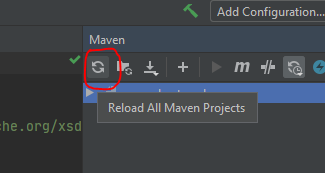
Now we can go back into our IDE and reload the Maven project. stepDP should now be available.
Now we can use the stepDP as shown in the Getting started example.
You can now extend the stepDP code base and test your code directly in the project, for example by building a small dialogue that uses your new function. After you made some changes to the stepDP codebase, you need to re-run the following command:
mvn clean install -f external/stepDP/src/pom.xml -am -pl spring
And reload your Maven Project. Afterwards, you can use your new functionally in stepDP.
Sample Snippets for future use
Note
Lorem ipsum dolor sit amet, consectetur adipiscing elit. Nulla et euismod nulla. Curabitur feugiat, tortor non consequat finibus, justo purus auctor massa, nec semper lorem quam in massa.
def bubble_sort(items):
    for i in range(len(items)):
        for j in range(len(items) - 1 - i):
            if items[j] > items[j + 1]:
                items[j], items[j + 1] = items[j + 1], items[j]
Nunc eu odio eleifend, blandit leo a, volutpat sapien. Phasellus posuere in sem ut cursus. Nullam sit amet tincidunt ipsum, sit amet elementum turpis. Etiam ipsum quam, mattis in purus vitae, lacinia fermentum enim.
Phasellus posuere in sem ut cursus
Lorem ipsum dolor sit amet, consectetur adipiscing elit. Nulla et euismod nulla. Curabitur feugiat, tortor non consequat finibus, justo purus auctor massa, nec semper lorem quam in massa.
Bug
Lorem ipsum dolor sit amet, consectetur adipiscing elit. Nulla et euismod nulla. Curabitur feugiat, tortor non consequat finibus, justo purus auctor massa, nec semper lorem quam in massa.
Tip
Lorem ipsum dolor sit amet, consectetur adipiscing elit. Nulla et euismod nulla. Curabitur feugiat, tortor non consequat finibus, justo purus auctor massa, nec semper lorem quam in massa.
Tip
Lorem ipsum dolor sit amet, consectetur adipiscing elit. Nulla et euismod nulla. Curabitur feugiat, tortor non consequat finibus, justo purus auctor massa, nec semper lorem quam in massa.